After a Summer, which I had tried to fill with as much external production work as possible, I was anxious to return to an RCS venue and to see how everything I’d learnt over those past two months had changed my approach to my work within the building. I reasoned that this would be apparent in this allocation in particular as, before July, I really had had no experience in electrics in a production context. This show, therefore, would present the perfect opportunity to build on any basic foundational skills which I had whilst filling in this clear gap in my knowledge. What was slightly disheartening to find out upon arrival back in the building then, was the fact that – though the actors had started their rehearsals, and other teams (Stage Management in particular) were frantically hard at work, there was a lack of things for myself, Karyn as programmer and operator, and Jazz as Production Electrician to do, as we were not yet at a point where a lighting design could begin to take shape and the prep work around this could be completed. The lack of things to keep busy with was made even more apparent by the fact that Jazz wasn’t in the building for the first two weeks due to external commitments, prompting myself to take the initiative to reach out and ask what tasks would be useful for me to fill my time completing. As it turned out – not a lot. What did prove very useful during this down time, however, was that I could use what free time I had to book desk training sessions with Christoph on the Ti – a desk which I had worked on before, though have clearly been using incorrectly – to reading up on some technical stage and electrics theory, so as I wouldn’t seem completely out of my depth during what was to be a speedy fit up period.
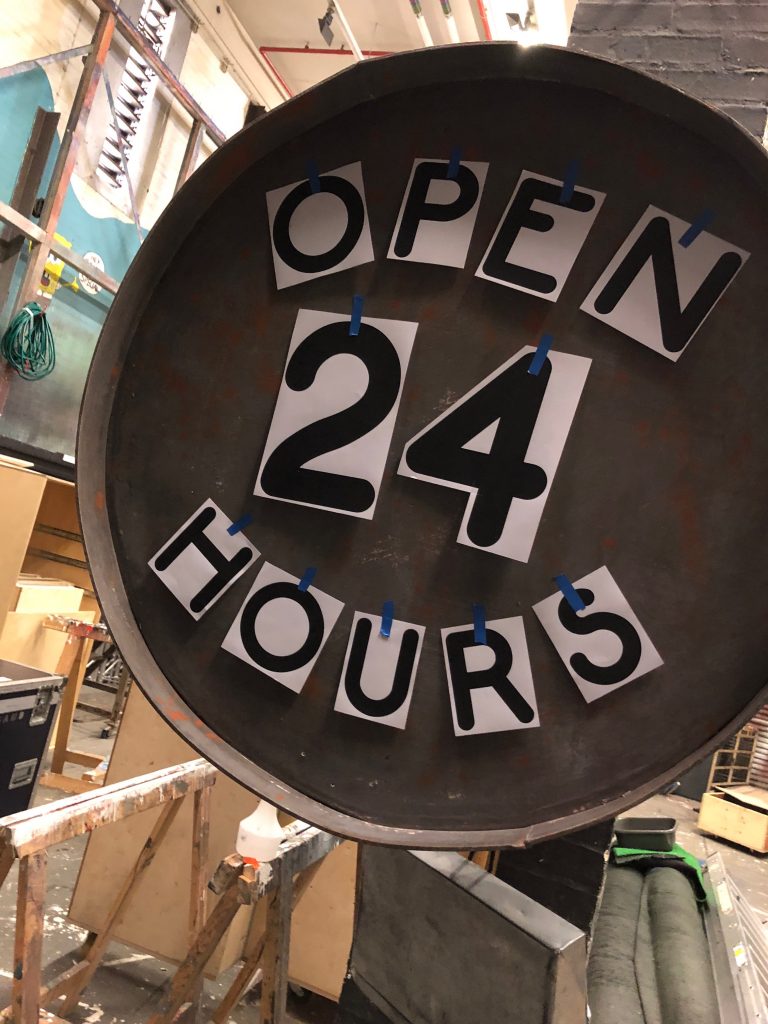
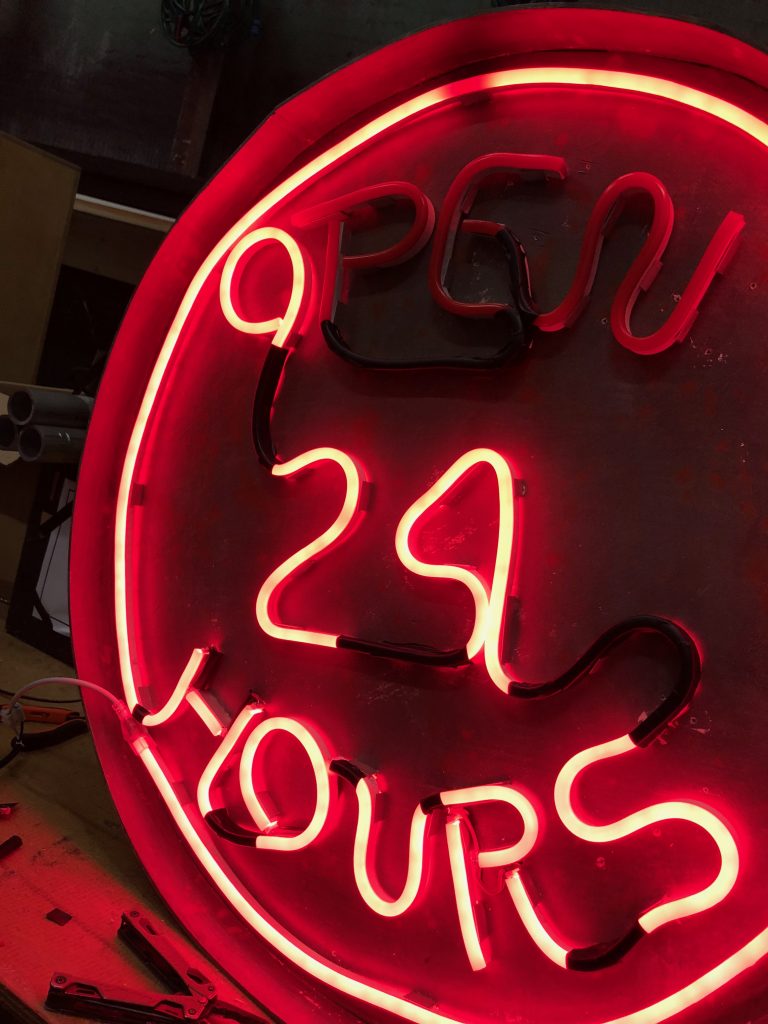

How to Make a Neon Sign
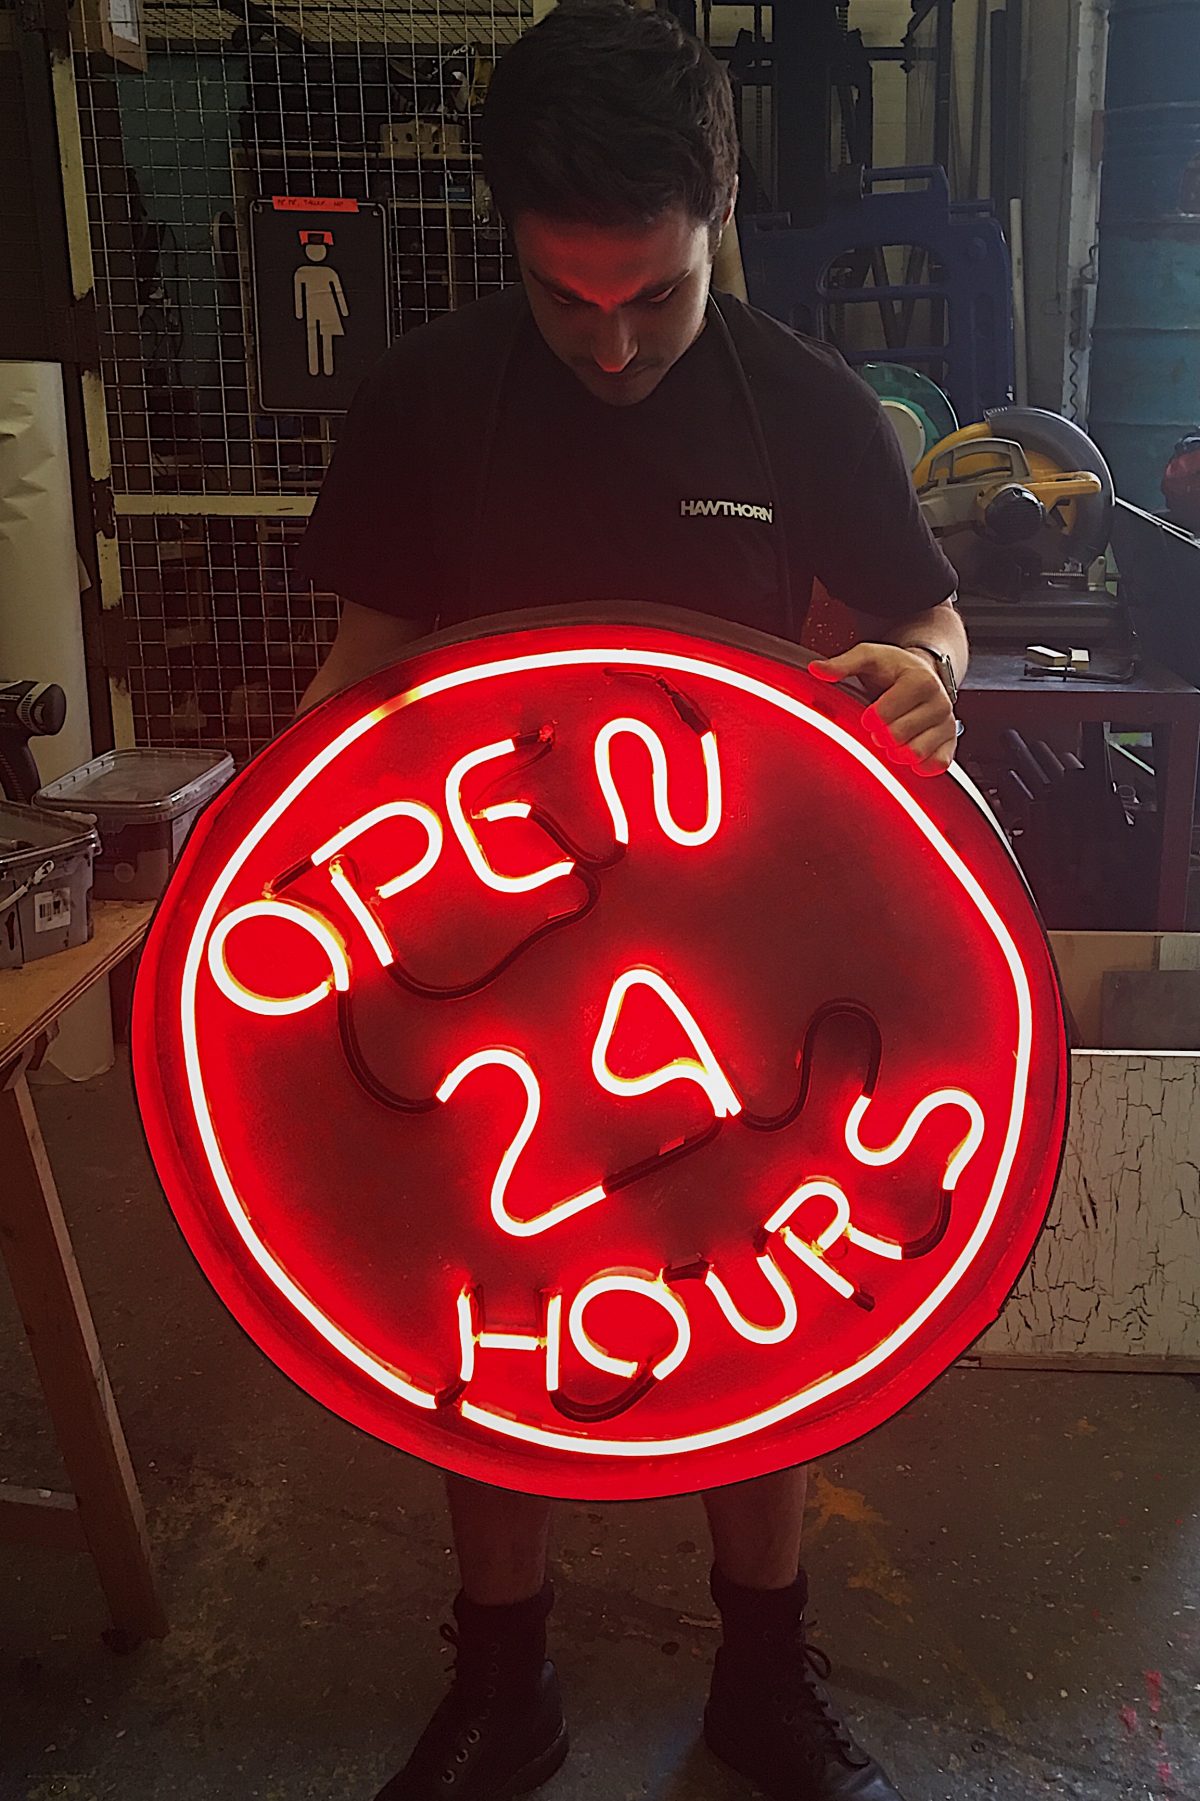
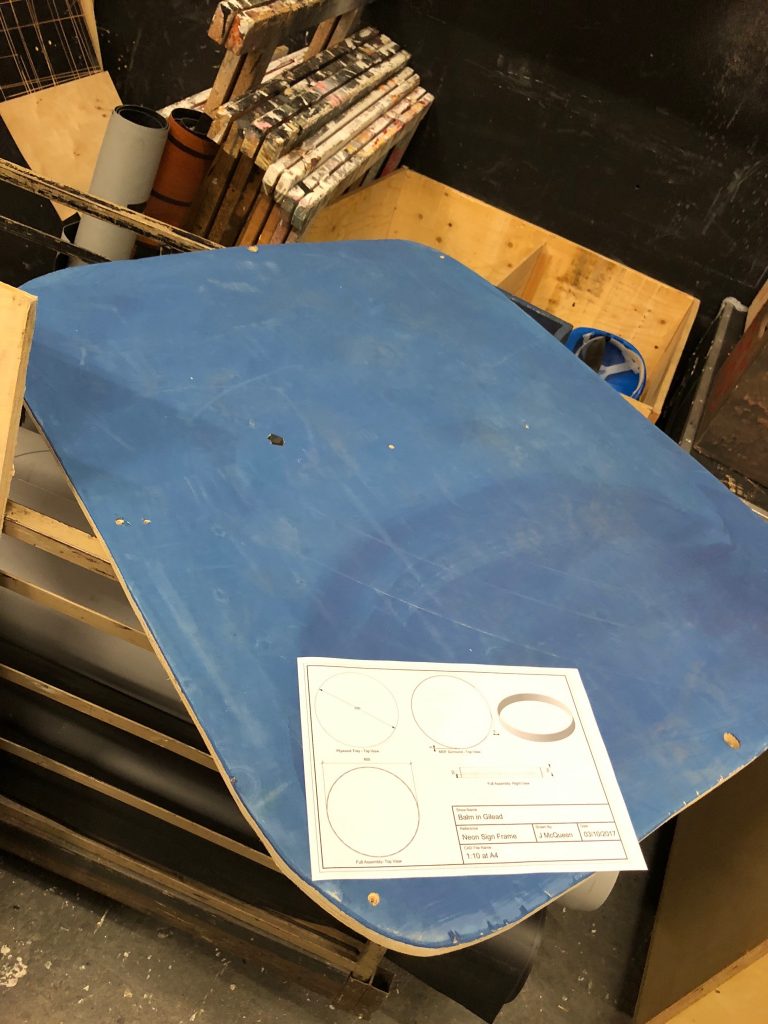
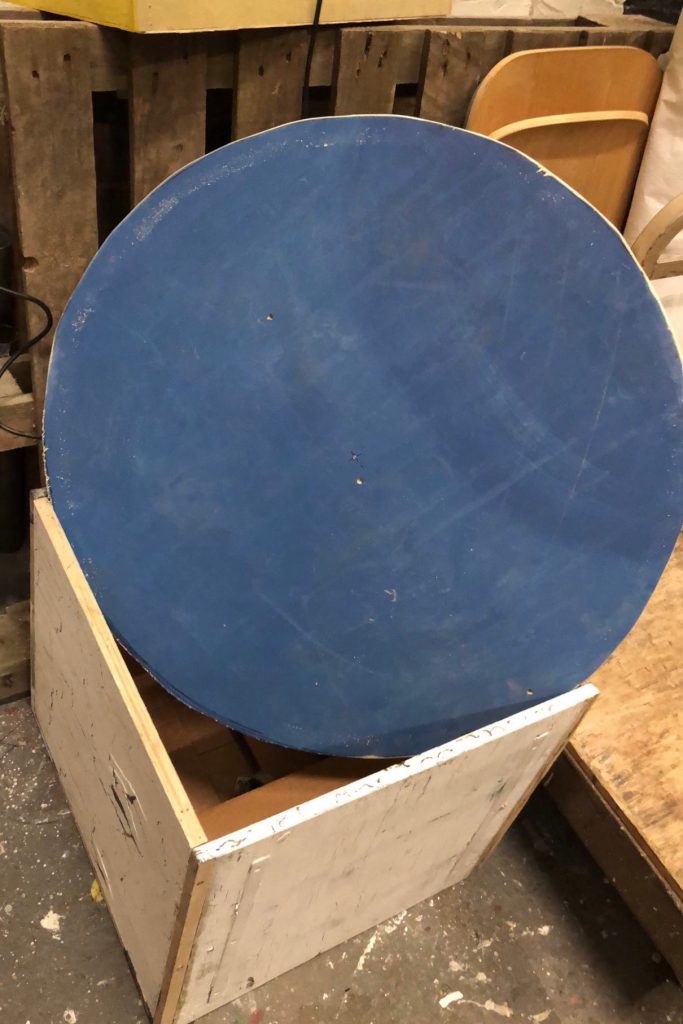
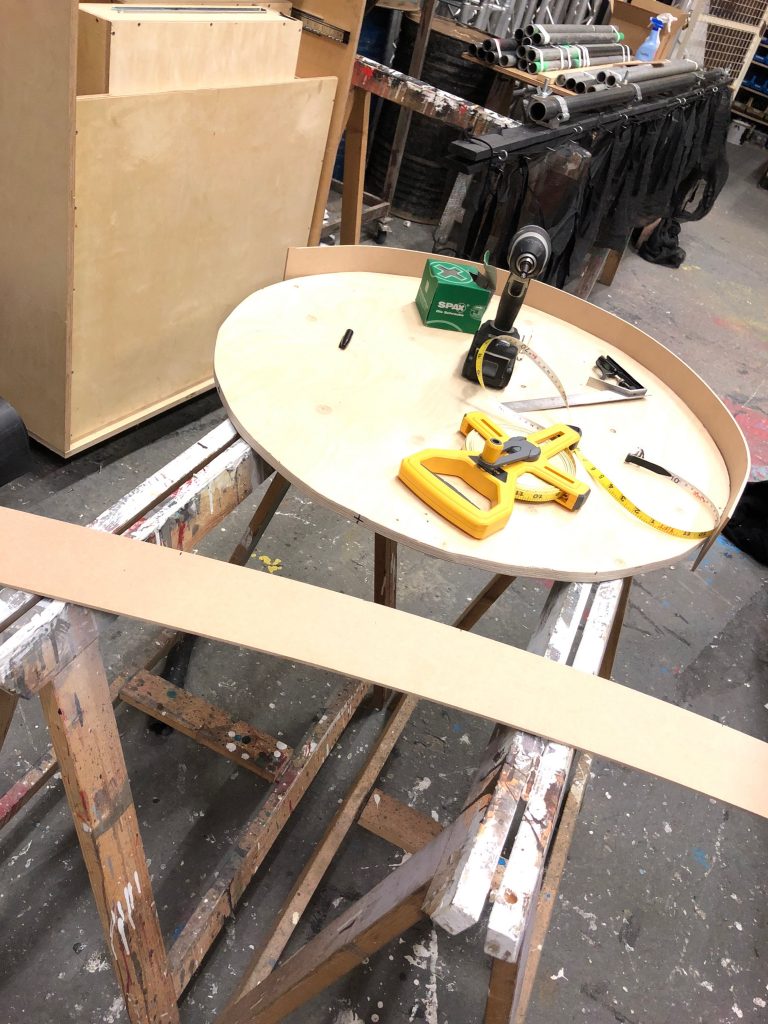
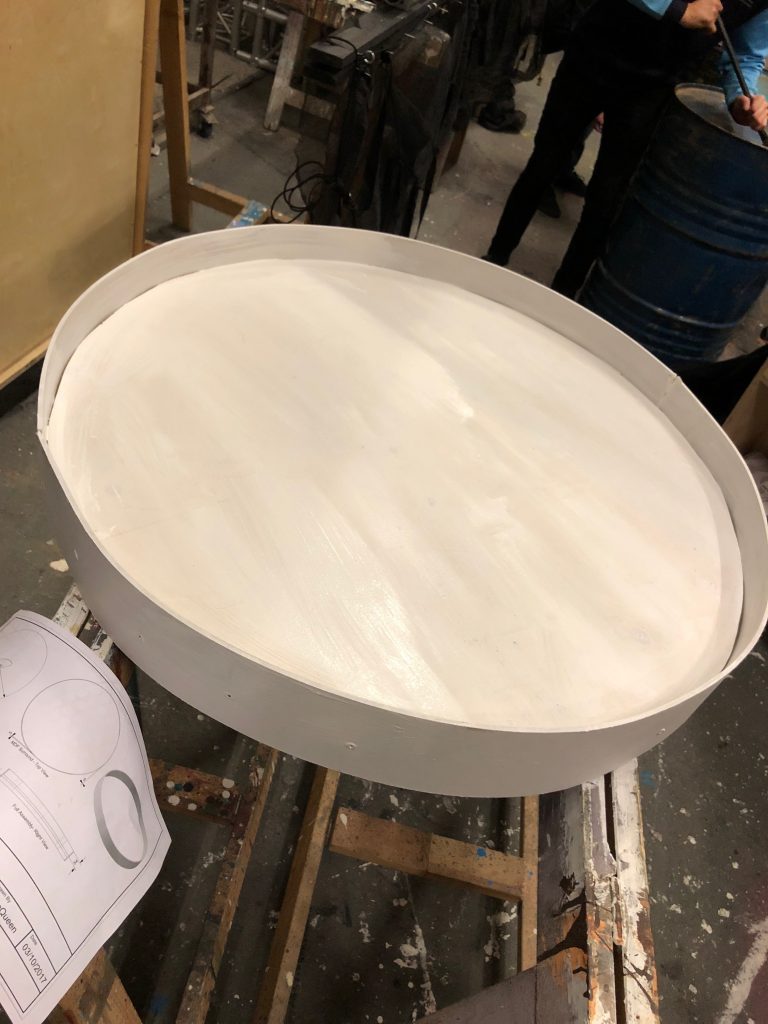
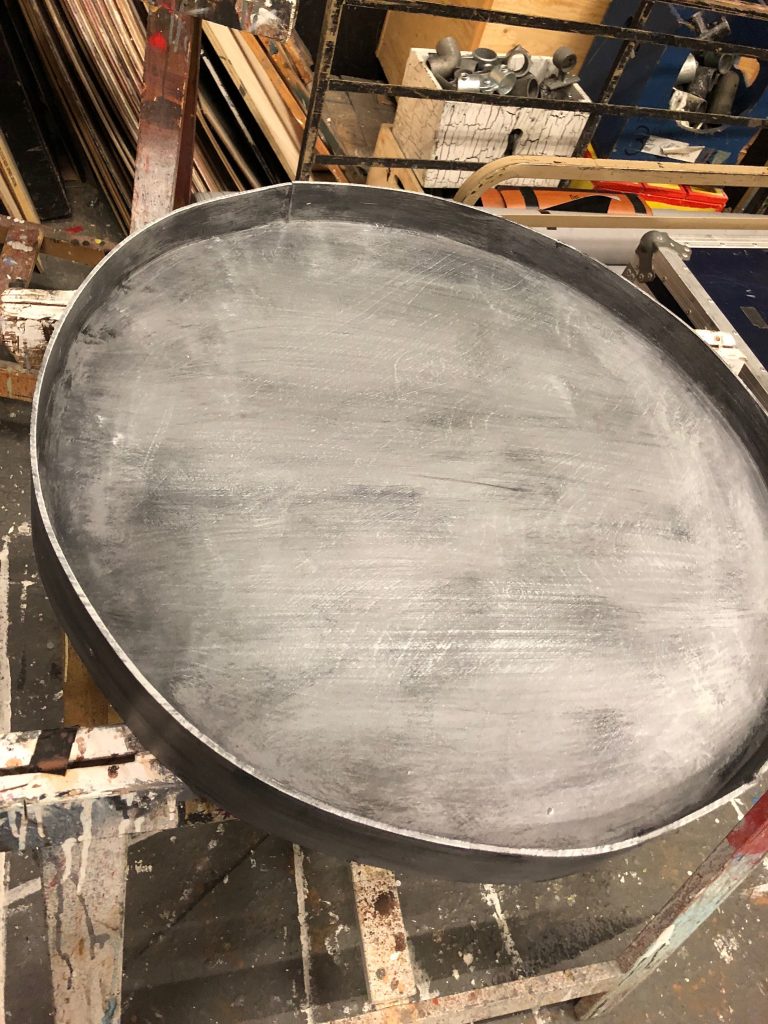
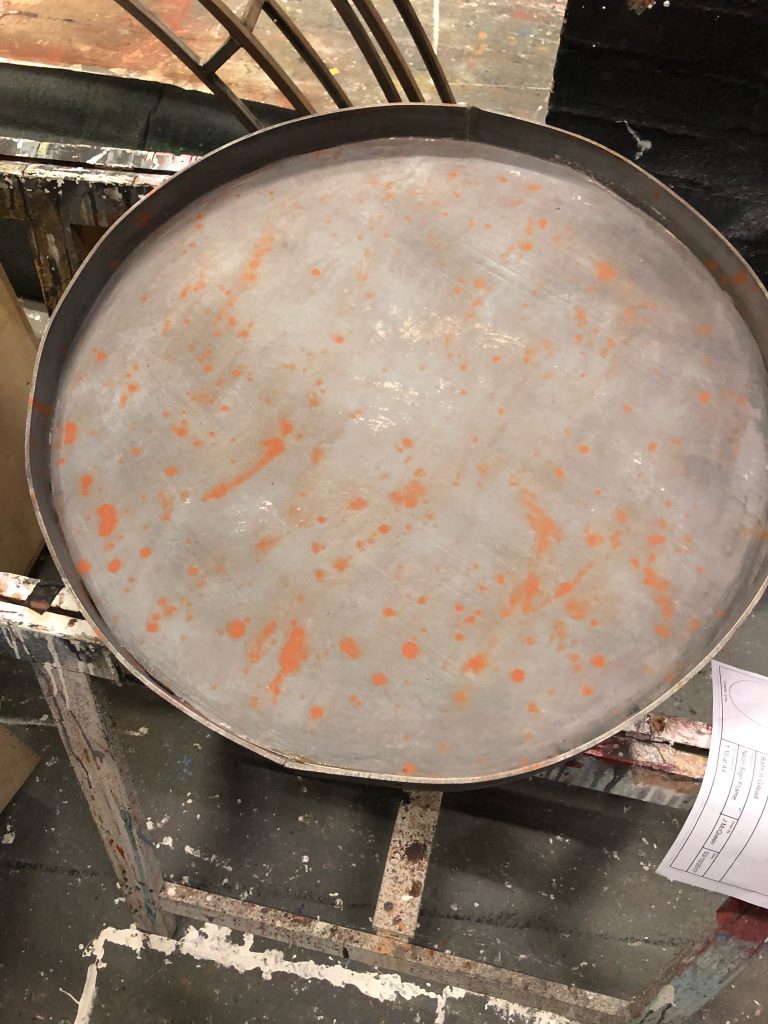
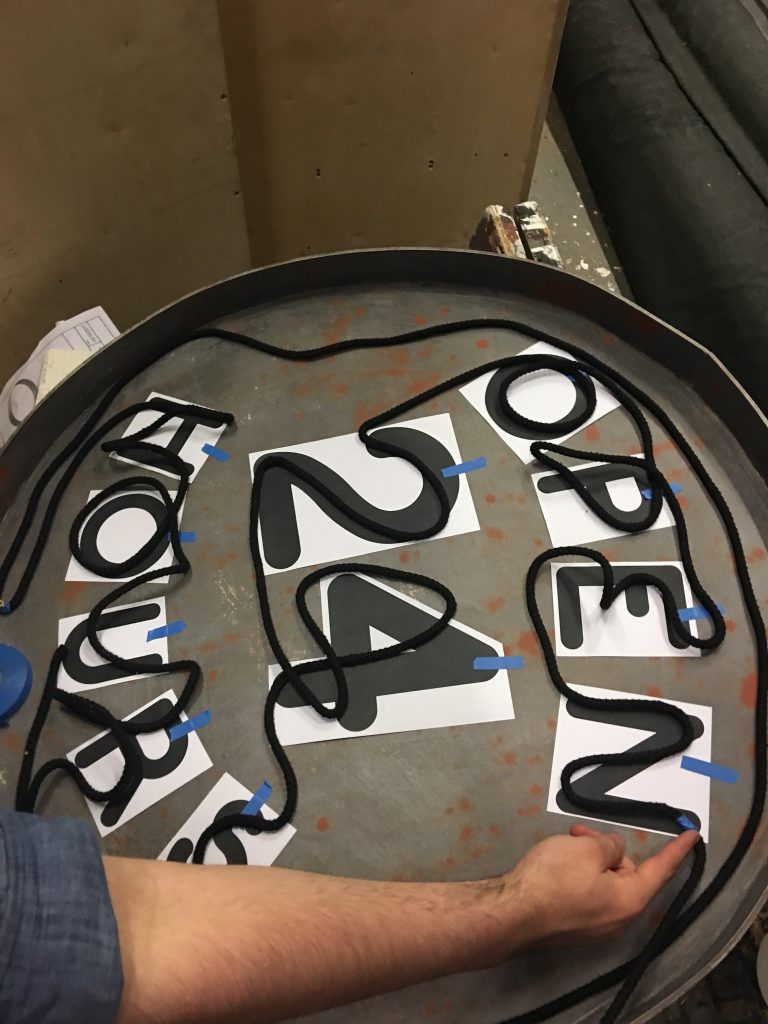
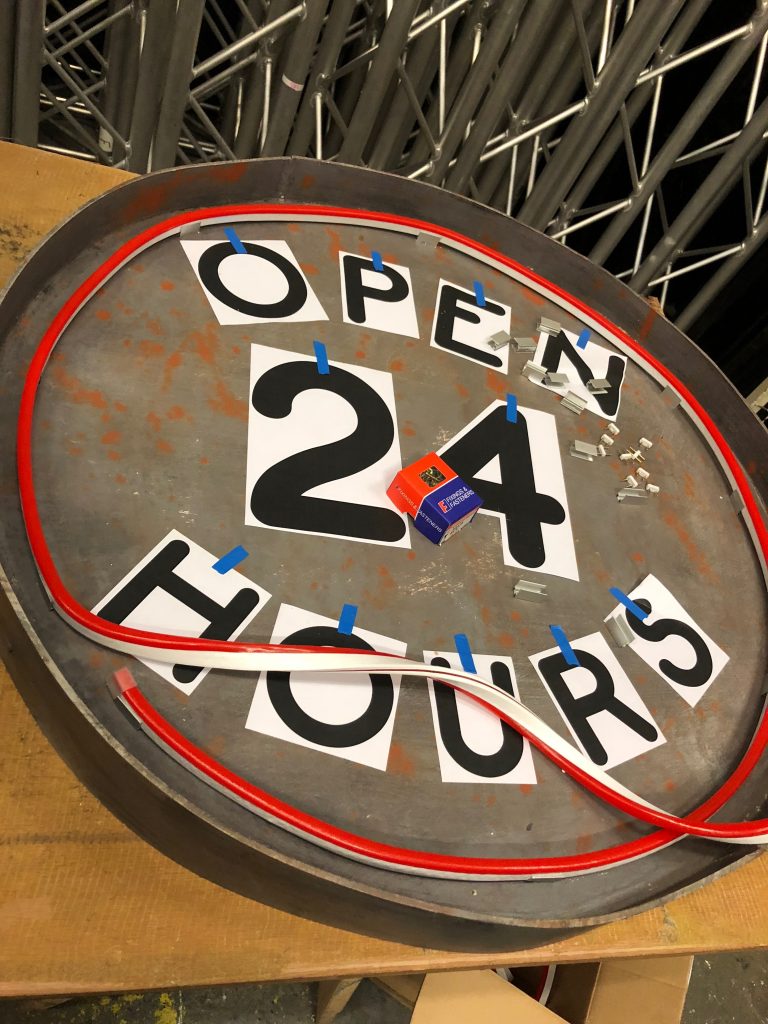
As the first production meeting came around and Katy displayed her model box, one glaring challenge shone out from the back wall of the set in all of its neon glory. This ‘Open 24 Hours’ neon sign would prove to be the only main electrical difficulty of the production, though due to the amount of time it would take up from everyone working on it this was likely for the best. Once Katy and Callum had settled on how they wanted the sign to look, I used my basic woodworking skills to knock up what was essentially a cake tin from ply and MDF. I cut out a 16mm deep, 800mm diameter circle to form the shelf of the sign, then floated this 30mm into a 100mm MDF surround, that way allowing an air gap round the back for cabling and batons to be screwed in, whilst still recessing the sign enough to make it look authentic. After a lot of screwing, wood glue, and praying, I gave it a couple of coats of white paint before, with the help of Karyn, we demonstrated that PTM students can actually be artistically creative, dry-brushing and rusting up the wooden base to make it look almost exactly like the reference image we were given. For the actual neon, however, Jazz had made clear that we would have to find a workaround. Not only is actual Neon tubing expensive, it’s also incredibly breakable and requires training and equipment to mould that we didn’t have access to. The solution was neon-flex, a red bendable plastic housing with LED tape inside that, when turned on, looked almost exactly like neon – except with the added perk of being a lot easier and cheaper to work with.
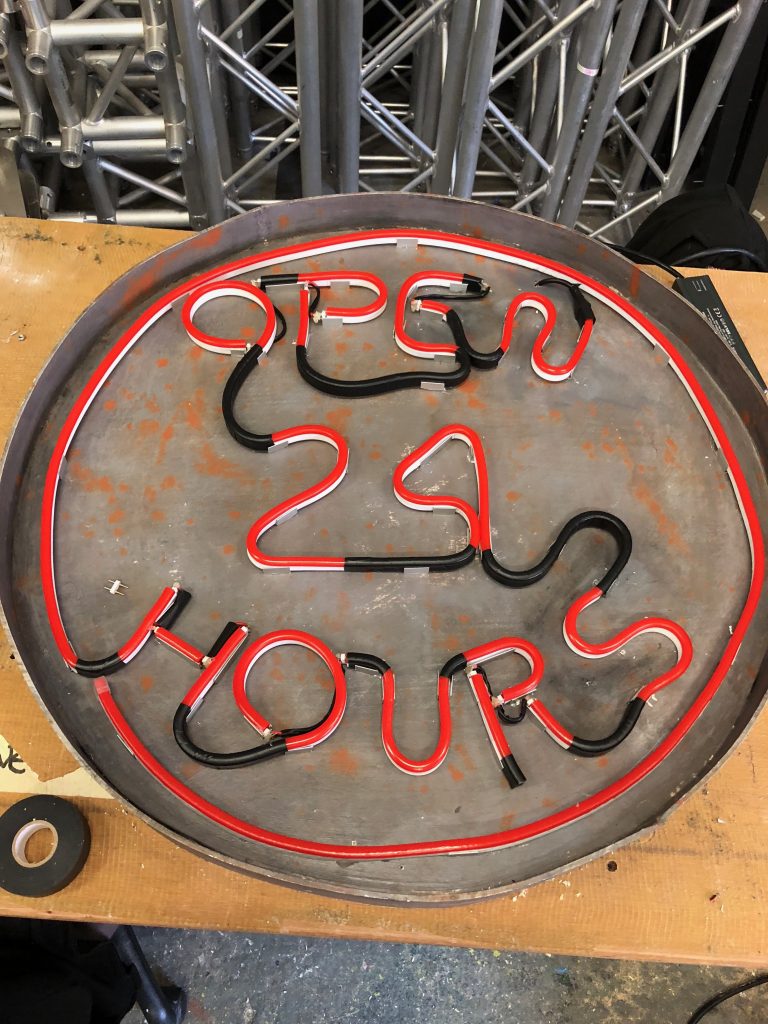
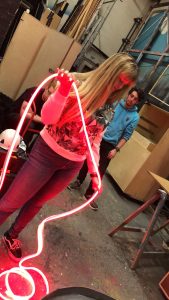 After Jazz had demonstrated how we needed to cut and solder the tubing, Karyn and I were left to complete the project. This was one of the first instances that showed that, despite best efforts, I am not a natural fine worker. Due to a combination of naturally shaky hands, and tools not being designed for left handed users, I melted through one of the connectors when trying to solder it, resulting in some angry cutting and expletives to try and make it work. I tried again, another two times, with better results, before succumbing to the conclusion that I should stick to hacksawing the metal mounting plates and leave Karyn to solder the remainder of the sign. This was mildly disappointing, as its definitely a skill I’d have liked to improve on and master to however far I could – though I realise that it wasn’t the kind of situation where mistakes could be easily rectified and that there’d be times in future when I could develop on this further without the production pressure of definitely having to get it right first time. So, after about three days of blood (hacksaws are painful on your fingers), sweat, and almost tears, our sign was working and ready to be installed. I don’t think it would be an exaggeration to say that I’ve never been happier with something I’ve had a part in making for a show, and I was genuinely very proud of what Karyn and I had achieved. After prepping the rest of our kit, screwing together some pendants, and still riding a neon high, we went into fit-up.
SaveSave
SaveSave
SaveSave
SaveSave